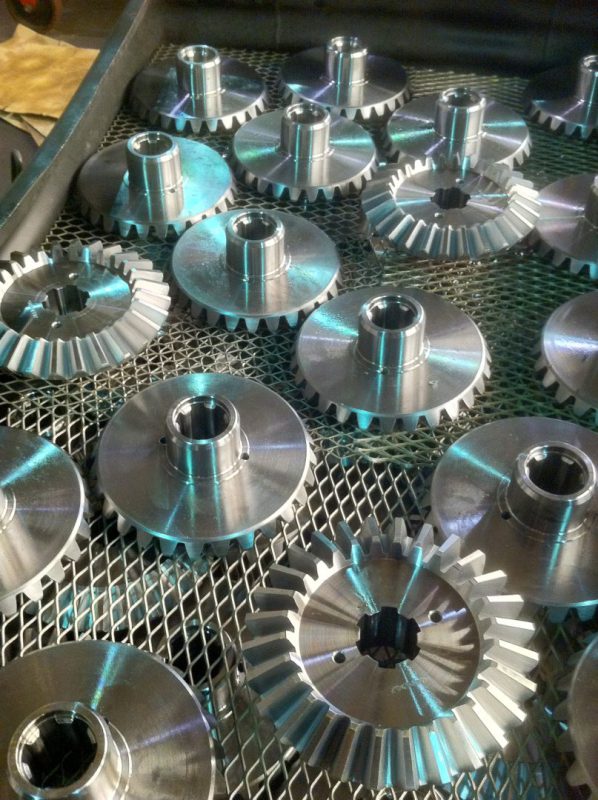
Precision in gearbox case hardening defines the durability and performance of transmission components. At Alpha Detroit Heat Treatment, our advanced hardening processes help manufacturers achieve ISO-compliant strength and wear resistance across industrial applications in Australia.
Technical Basis of Case Depth in Gearbox Case Hardening
Case depth directly influences the load-bearing capacity of gear teeth and bearing surfaces. In gearbox case hardening, the hardened outer layer is engineered to resist surface fatigue, while the core maintains ductility to absorb operational stresses. Selecting the right case depth ensures that each gear set maintains dimensional stability even under heavy torque and cyclic loading.
Heat treatment parameters, such as carburising temperature, carbon potential, and quenching rate, must be precisely controlled. Any deviation in these factors can compromise surface integrity or cause excessive distortion, affecting gearbox alignment and operational lifespan.
Determining Optimal Case Depth According to ISO Specifications
ISO standards define specific case depth tolerances for hardened components depending on material composition, intended application, and service load. In gearbox case hardening, the typical case depth ranges between 0.8 mm to 2.0 mm for medium-duty gears, extending up to 3.5 mm for high-stress or heavy industrial gear systems.
Engineers evaluate:
• Material type: Alloy steels such as EN36 or 8620 demand specifically calibrated carburising cycles to achieve optimal carbon diffusion and hardness gradients.
• Surface hardness requirements: Target hardness typically ranges from 58–62 HRC, adjusted according to the component’s operational stress classification.
• Operational conditions: Variables like torque load, lubrication quality, and service temperature determine fatigue strength and surface wear performance.
• Component geometry: Thicker or asymmetrical gear sections require thermal compensation to maintain uniform case depth and minimise distortion.
• Quality verification: Microhardness testing and metallographic inspection confirm that the hardened case meets ISO 2639 and design-specific tolerances.
Advanced metallographic inspection and microhardness testing validate that the hardened case meets ISO 2639 and related standards, ensuring consistent quality across production batches.
Modern Heat Treatment Techniques for Precision Case Depth Control
We utilise computer-controlled carburising and vacuum heat treatment systems to ensure consistent case depth and microstructure uniformity. These technologies eliminate variability found in conventional furnace methods. Continuous data logging allows for accurate correlation between process conditions and hardness results—critical for maintaining compliance with international standards.
Through tightly regulated quenching and tempering processes, we ensure that residual stresses are minimised, improving gear fatigue resistance and dimensional accuracy post-treatment.
Achieving ISO-Grade Performance Through Expert Hardening Solutions
Choosing the correct case depth is essential for achieving reliability and ISO conformity in gearbox components. At Alpha Detroit Heat Treatment, we deliver industry-leading gearbox case hardening solutions that optimise wear resistance, maintain dimensional precision, and extend service life for industrial gear systems.
For specialised gearbox heat treatment services in Melbourne, contact our team today to discuss tailored hardening solutions engineered for your production requirements.
Related Blog Article: Case Hardening Steel Gears: Improving Longevity in High-Stress Applications
Optimized by: Netwizard SEO
